Ingredients
Method
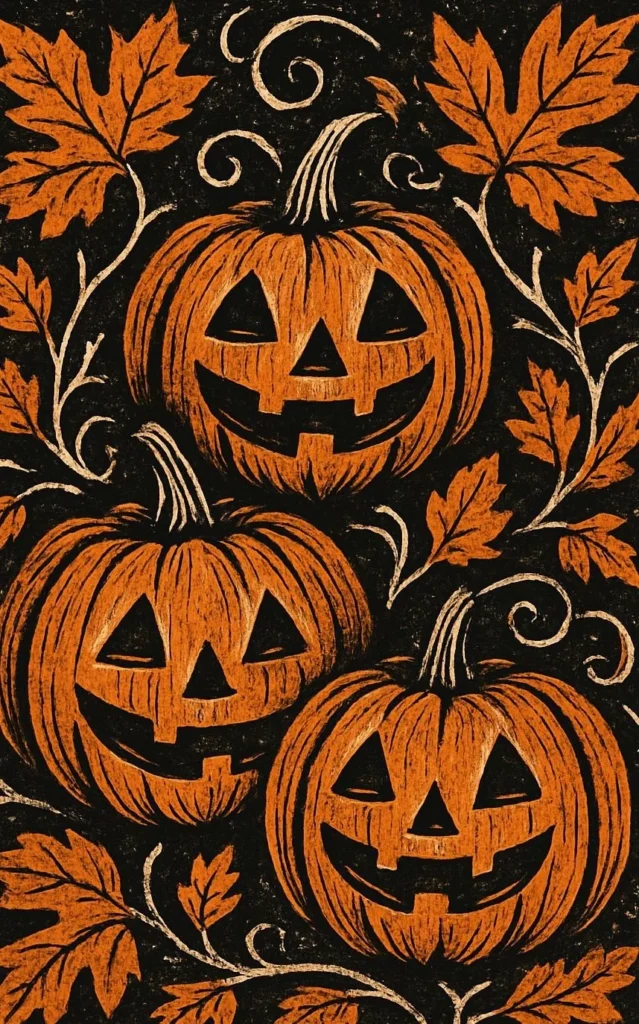
Design and Carving
- Start by sketching your pumpkin patch design on paper or cardstock.
- Transfer the design onto the linoleum block with a pencil.
- Use carving tools to carefully carve out the areas of the linoleum where you want the ink to remain.
Printing
- Pour block printing ink into a roller tray.
- Use the brayer to roll ink onto the carved linoleum block evenly.
- Carefully press the inked block onto the paper or cardstock.
- Apply even pressure on the back of the block to ensure a good print.
- Gently lift the block to reveal your beautiful vintage pumpkin patch print.
- Allow the ink to dry completely before displaying.
Notes
Store the linocut print flat in a cool, dry place. Ensure it is fully dry before stacking with other prints. Use acid-free paper between prints for protection. Take your time while carving to avoid mistakes and test the print on scrap paper.