Ingredients
Method
Preparation
- Select a fresh pumpkin. Choose a size that complements the design you want to carve.
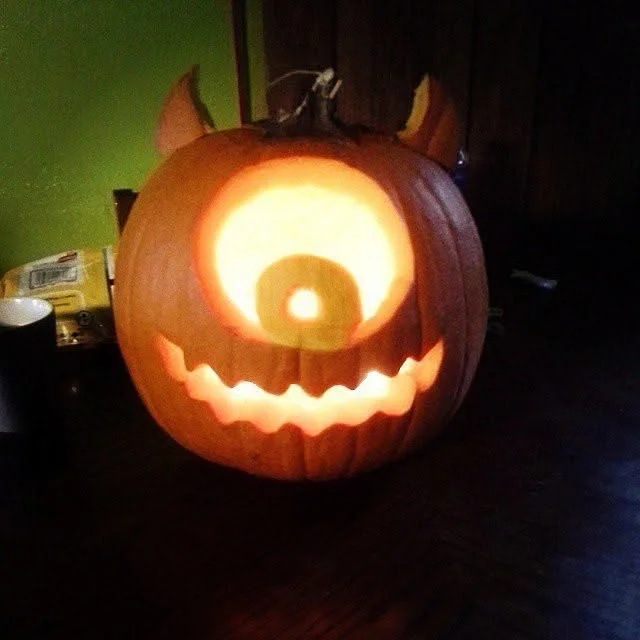
- Draw your design on the pumpkin's skin using a marker or pen. Consider popular characters or simple Halloween shapes.
- Cut the top off the pumpkin carefully, making a lid that can be removed easily.
- Scoop out the insides of the pumpkin using your carving tools, ensuring to remove all seeds and pulp.
- Start carving your design by following the outlines you drew earlier. Take your time and use clean, precise cuts.
- If you want to illuminate your pumpkin, place a candle or an LED light inside before replacing the lid.
Notes
To prolong the life of your carved pumpkin, keep it in a cool, dry place. Spray the carved areas with a solution of water and bleach to help prevent mold. Bring it indoors at night or during inclement weather. Always supervise children using carving tools and simplify designs if necessary.